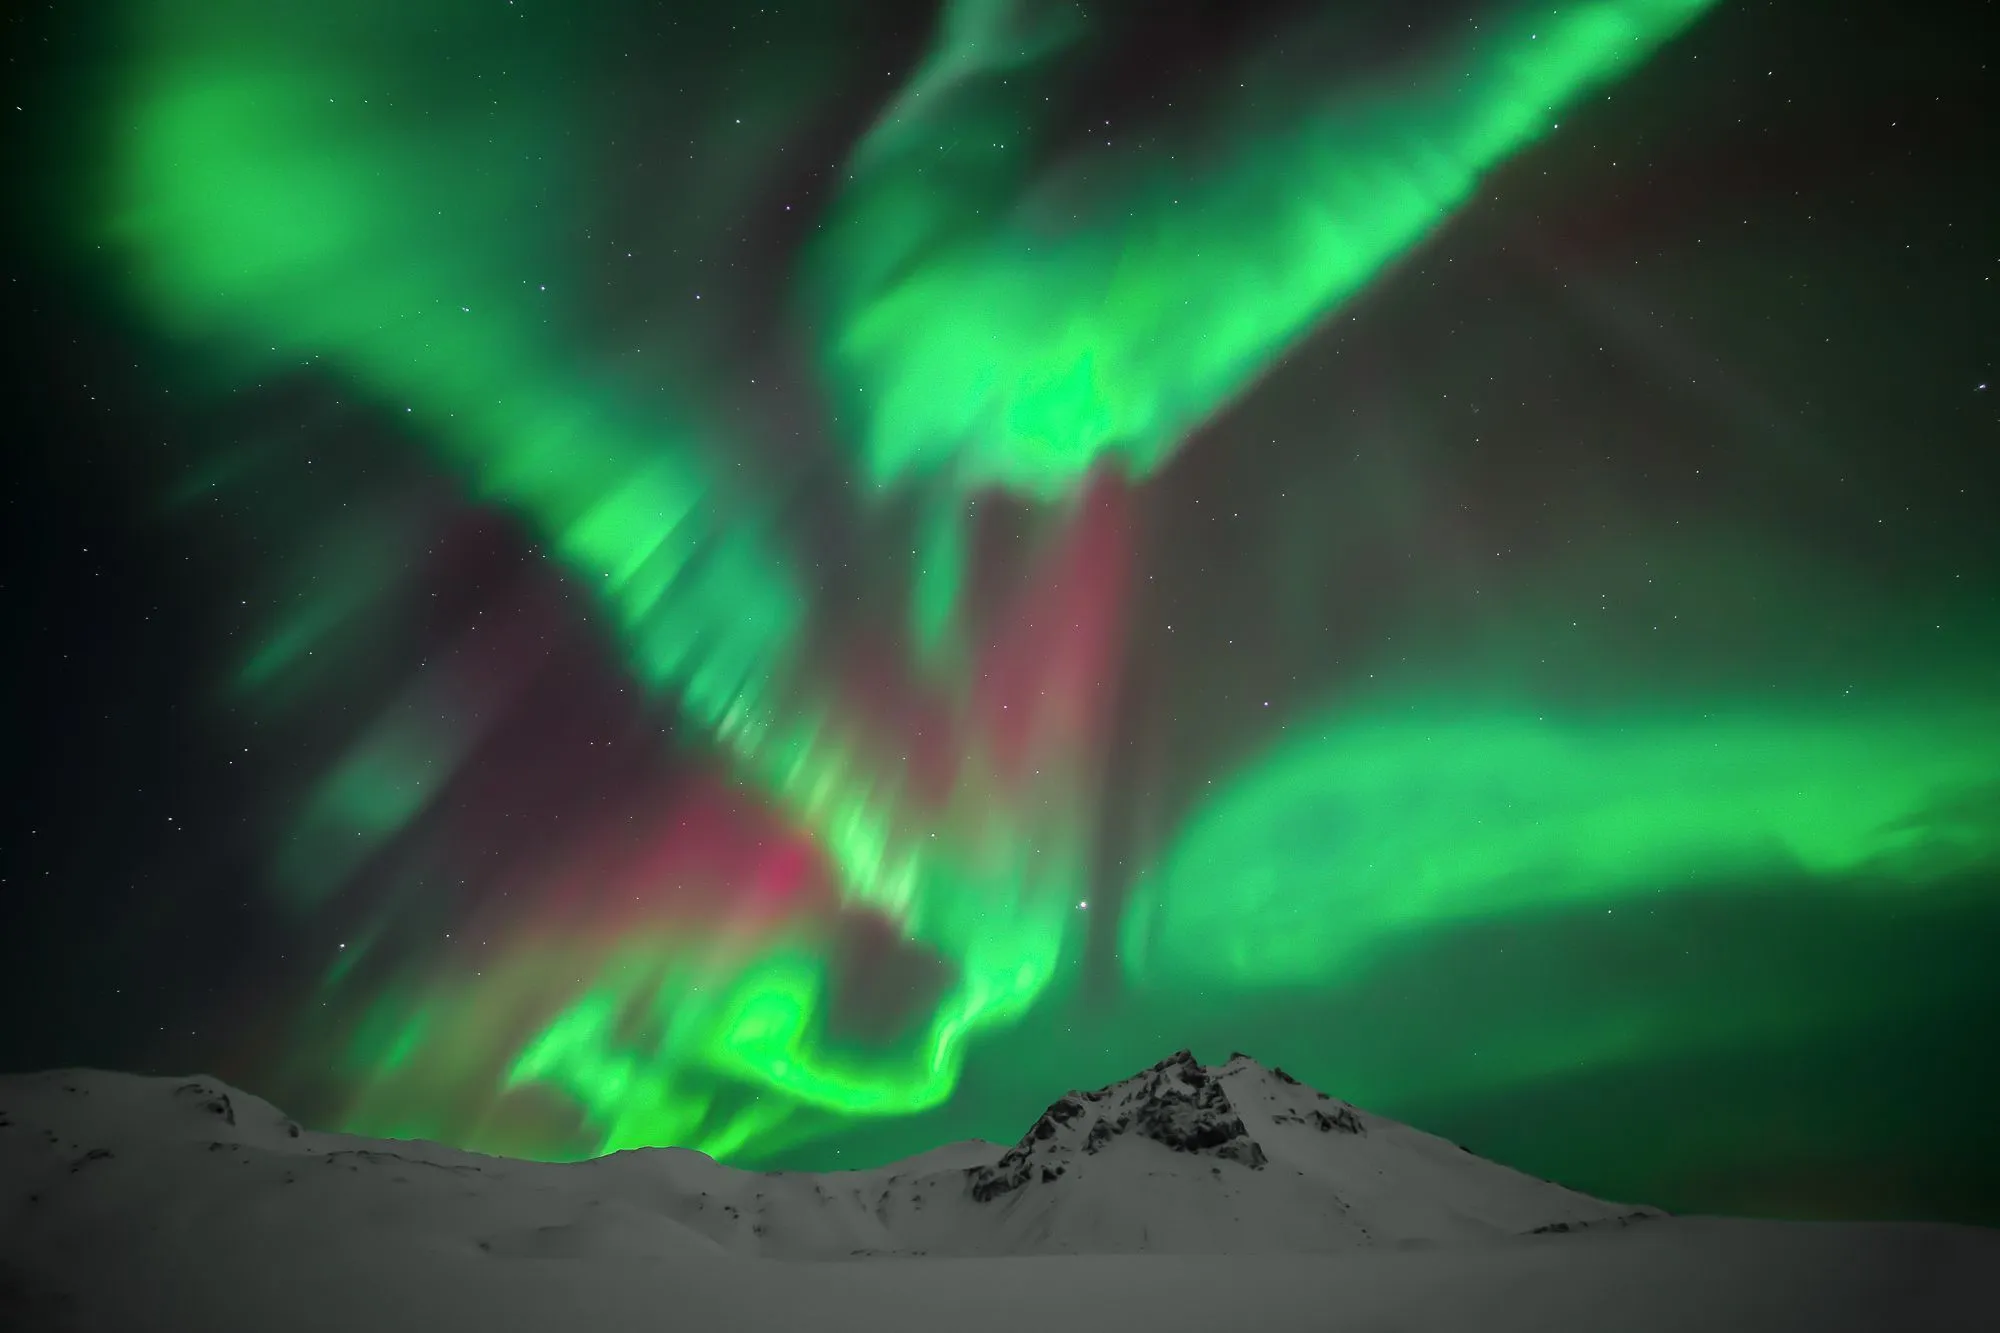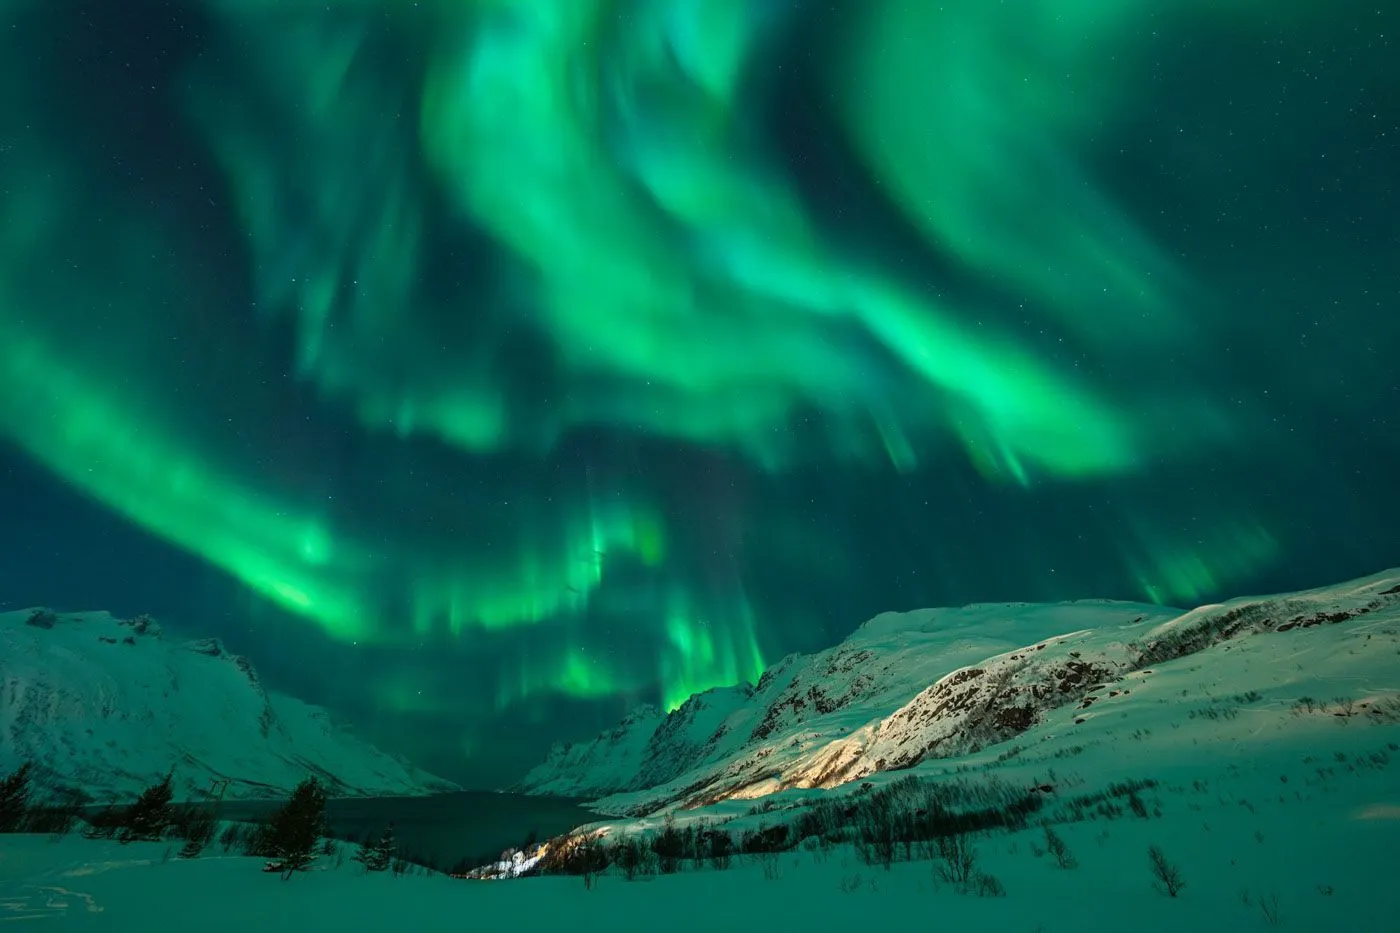
Few moments in photography compare to the first time you see the northern lights explode across the sky. The camera is on the tripod, the green curtains begin to move, and suddenly you have about ninety seconds to get everything right: focus, exposure, composition. Get it wrong, and you go home with a blurry green smudge. Get it right, and you capture an image you will treasure forever.
And here is why this guide matters more right now than at any point in the last two decades: the sun follows an 11-year activity cycle, and Solar Cycle 25 reached its maximum between 2024 and 2025. The years around a solar maximum — including 2026 and 2027 — historically deliver the strongest, most frequent auroras of the entire cycle. If you have been postponing your northern lights trip, the sky has never argued more loudly in your favor.
After more than a decade leading photography tours in Iceland, Norway and the Canadian Rockies, we have photographed the aurora hundreds of nights, in every condition imaginable — from gentle green arcs over Jökulsárlón to coronas exploding directly overhead in the fjords of Tromsø. This guide condenses everything we teach our travelers in the field about how to photograph the northern lights: the exact camera settings, the gear that actually matters in 2026, how to focus in complete darkness, how to read aurora forecasts like a guide does, and where and when your chances are highest.
Let’s get you ready for the show.
What Are the Northern Lights (and Why It Matters for Your Photos)
The aurora borealis happens when charged particles from the sun collide with gases in Earth’s upper atmosphere, roughly 100 to 300 kilometers above your head. The colors are a chemistry lesson written across the sky:
- Green — the classic aurora color — comes from oxygen at around 100–150 km altitude. It is the strongest emission and the one your eyes detect most easily.
- Red comes from oxygen much higher up, above 200 km. It usually crowns the top of strong displays.
- Purple, pink and blue come from nitrogen along the lower edges of the curtains, typically during energetic displays — when you see pink fringes dancing fast, you are watching a genuinely strong aurora.
Why should a photographer care about the science? Two very practical reasons:
First: the camera sees more than your eyes. Human night vision is nearly colorblind — a faint aurora often looks like a grey, thin cloud on the horizon. Your camera sensor, accumulating light over several seconds, will render that same “cloud” vivid green. Rule number one on our tours: when in doubt, take a test shot. Many of our travelers photograph their first aurora before they have consciously seen one.
Second: aurora strength dictates your settings. Faint, slow auroras allow long exposures; bright, fast displays demand short shutter speeds to freeze the structure. Understanding what the sky is doing tells you what your camera should do — we will give you the exact recipe further down.
How to Read Aurora Forecasts Like a Guide
Most articles stop at “check the KP index.” Let us take you further, because reading the forecast properly is the difference between a wasted night and the show of your life.
The KP index (and its limits)
The KP index measures global geomagnetic activity on a scale from 0 to 9. From high-latitude destinations like Iceland, Tromsø or the Yukon, KP 2–3 is already enough to photograph beautiful auroras — you are sitting directly under the auroral oval. At KP 5+ (a geomagnetic storm), the aurora expands south and can erupt directly overhead in fast-moving curtains.
But here is what most beginners get wrong: KP is a 3-hour, planet-wide average. It tells you the aurora’s general mood, not what will happen over your head in the next 30 minutes. For that, you need to look deeper.
The pro move: watch the Bz
The single most useful number in aurora forecasting is the Bz component of the interplanetary magnetic field. Think of it as the switch that connects the solar wind to Earth’s atmosphere: when Bz points south (a negative value), the door opens and auroras flare up; when it points north, the door closes — even during a high-KP night. Our guides have seen modest KP-3 nights with strongly negative Bz outperform “promising” KP-5 forecasts with Bz stuck north. Check it in real time and you will start predicting surges 20–40 minutes before they happen, because that is roughly how long the solar wind takes to travel from the monitoring satellites to Earth.
Our complete forecasting toolkit
These are the exact tools our guides check every afternoon and keep open every night on tour:
- NOAA 30-minute forecast: the source almost every aurora app feeds from; shows where the auroral oval sits right now.
- SpaceWeatherLive (app and website): real-time solar wind speed, density and — crucially — the Bz value, plus alerts when a storm begins.
- Hello Aurora: our favorite app for Iceland — it combines aurora probability with Iceland’s cloud cover and real-time sightings reported by users across the island.
- My Aurora Forecast: simple, reliable alerts anywhere in the world.
- Cloud forecasts: vedur.is for Iceland (the cloud-cover map is pure gold) and windy.com with its low/mid/high cloud layers for everywhere else.
The workflow is simple: solar data tells you IF the aurora will dance; cloud maps tell you WHERE you will be able to see it. You need both to say yes to a night out — and being willing to drive an hour to a gap in the clouds is half of aurora photography. That mobility, and knowing which valleys clear first, is one of the biggest advantages of traveling with local guides.
When to See the Northern Lights
The aurora is active all year — it simply cannot be seen against a bright sky. You need two things: darkness and clear skies.
Best months
From late August to mid-April, nights at aurora latitudes are dark enough. Within that window, our favorite periods after years of guiding are:
- September–October: milder temperatures, open mountain roads, autumn colors in the foreground and — the secret weapon — lakes and lagoons that are not yet frozen, perfect for aurora reflections. Statistically, the weeks around the equinoxes also bring elevated geomagnetic activity (scientists call it the Russell-McPherron effect; we call it September magic).
- February–March: deep winter landscapes, ice caves in Iceland, frozen waterfalls, longer nights, and again that equinox boost in activity.
From May to July, the midnight sun at these latitudes makes aurora photography impossible: the sky simply never gets dark.
Time of night
Aurora activity typically peaks between 9 PM and 2 AM local time, with the statistical sweet spot around magnetic midnight (roughly 10:30 PM–12:30 AM in Iceland). That said, strong displays can appear any time after dark — on our tours we plan dinners early and keep every evening free. The aurora does not wait for dessert.
Moon and weather
A new moon gives you the darkest skies and the most saturated colors. But do not fear the moon entirely: a quarter moon acts like a giant softbox, beautifully illuminating the foreground landscape while the aurora still shines above. Some of our favorite images combine moonlit glaciers with green curtains overhead. What you should genuinely fear is cloud cover — which is why the forecasting toolkit above matters more than any lens you will ever buy.
Where to Photograph the Northern Lights
You need three ingredients: latitude (roughly 64–70° north), dark skies away from city lights, and — for images that stand out from the millions of aurora snapshots online — a spectacular landscape underneath.
Iceland
Our favorite, and not by accident. Iceland sits directly under the auroral oval, and no other destination offers such a density of world-class foregrounds: the waterfalls of the south coast, Jökulsárlón glacier lagoon with its stranded icebergs, the black sand beaches of Vestrahorn and Stokksnes, and the iconic Kirkjufell mountain. Everything is reachable by road, so you can chase clear skies from coast to coast in a single night. This is exactly what we do on our Iceland photo tours, timed for the best aurora months of the year.

Northern Norway: Tromsø, Senja & the Lofoten Islands
If Iceland is the land of waterfalls under the aurora, Arctic Norway is the land of fjords: sawtooth peaks rising straight from the sea, fishing villages with red cabins, and beaches where the aurora reflects on wet sand between snow-covered mountains. Tromsø is statistically one of the most reliable aurora cities on Earth, and Senja and the Lofoten Islands offer the most dramatic foregrounds in the Arctic. Our Northern Lights photo tour is built precisely around this golden triangle, moving each night to wherever the sky opens.
Canadian Rockies & Northern Canada
Banff and Jasper — one of the largest certified Dark Sky Preserves in the world — offer pristine skies with mountain and lake foregrounds that are hard to beat, and the Yukon sits even deeper under the oval. An aurora reflected in a still Rocky Mountain lake, with the peaks silhouetted black against the green, is pure magic. It is one of the highlights of our Canadian Rockies photo tour.
Finland & Sweden
Lapland delivers a different aurora experience: frozen lakes, snow-ghost forests, glass igloos and profound Arctic silence. Less dramatic topography than Norway, but wonderfully photogenic in its minimalism — a single snow-laden pine under a green sky can be a stronger image than a whole mountain range.
Honorable mentions
Alaska (Fairbanks sits under the thickest part of the oval), Greenland (zero light pollution, icebergs the size of cathedrals) and, for the adventurous, the Scottish Highlands and even northern Spain during extreme storms — because during a solar-maximum superstorm like May 2024’s, the aurora has been photographed from latitudes nobody expected.
The honest truth: the “best” location is the one with clear skies tonight. Flexibility — and local knowledge — matter more than any single famous spot.
Essential Gear for Northern Lights Photography (2026 Edition)
You do not need the most expensive kit on the market. You need the RIGHT kit — and to know which pieces actually matter. In order of importance: tripod, lens, camera. Yes, in that order.
Camera: what actually matters
Two qualities define a good aurora camera: clean high-ISO performance (you will live between ISO 1600 and 6400) and good dynamic range (to hold detail in both the bright aurora and the dark land). Any interchangeable-lens camera with manual mode from the last decade can photograph the aurora — we have seen stunning images from 10-year-old DSLRs on our tours. But if you are choosing a camera in 2026, here is our honest field-tested shortlist:
The cameras we recommend in 2026
The sweet spot (where most of our travelers land):
- Sony A7 V (late 2025): the new benchmark all-rounder. Its 33MP partially stacked sensor reads the scene in two gain modes at once and combines them, delivering superb dynamic range and remarkably clean night files — plus the best battery life in its class, which matters enormously at −15°C.
- Canon EOS R6 Mark III (late 2025): 32.5MP, phenomenal autofocus and excellent handling with gloves. Canon shooters finally have a night camera that concedes nothing.
- Nikon Z6 III: now the bargain of the trio — its price has dropped to around $2,000, its high-ISO files hold up beautifully past ISO 6400, and its 4,000-nit viewfinder is a genuine advantage when composing in the dark.
The dream tier (if budget is not the constraint):
- Sony A7R VI (2026): the brand-new 66.8MP stacked-sensor monster — if you want aurora panoramas you can print two meters wide, this is it. One of the most ISO-invariant sensors ever tested, which is a night photographer’s dream: you can protect the highlights and lift shadows later with almost no penalty.
- Nikon Z8 and Canon R5 Mark II: 45MP hybrid flagships, both spectacular under dark skies.
- Sony A7S III / A1 II: if you also dream of real-time aurora VIDEO (not time-lapse — actual video of the curtains moving), the A7S III’s 12MP sensor remains the low-light king of the industry.
Smart money (used and previous-generation):
- A second-hand Sony A7 IV, Canon R6 Mark II or Nikon Z6 II costs a fraction of the new models and gives you 95% of the night-photography result. The R6 Mark II in particular, still sold new at a reduced price, is arguably the best value full-frame night camera on the market right now.
- APS-C: a Fujifilm X-T5 or similar delivers beautiful aurora images — just budget for a fast wide lens (see below), because crop sensors need all the light they can get.
Already own something different? Bring it. Technique first, gear second — a modest camera on a solid tripod beats a flagship on a shaky one, every single night.
Lens: the most important purchase
A wide-angle lens with a fast aperture is the single best investment in night photography — more impactful than any camera upgrade:
- Focal length: 14–24mm on full frame (10–18mm on APS-C). The aurora often fills the entire sky; you want the curtains AND the landscape.
- Aperture: f/2.8 or faster. Each stop doubles the light reaching your sensor — the difference between ISO 6400 and ISO 3200, or between 8 seconds of motion blur and 4 seconds of crisp rays.
Our field-tested picks by system:
- Sony E: the Sony 14mm f/1.8 GM is arguably the finest aurora lens ever made — tiny, sharp wide open, a full stop faster than any f/2.8 zoom. The Sigma 14mm f/1.4 DG DN gathers even more light if you accept the weight; the 16–35mm f/2.8 GM II is the versatile choice.
- Nikon Z: the Z 14–24mm f/2.8 S is spectacular corner to corner; the Z 20mm f/1.8 S is the lighter, faster prime alternative.
- Canon RF: the RF 15–35mm f/2.8L covers every aurora composition; the little RF 16mm f/2.8 is a remarkably capable budget option.
- Budget heroes (all mounts): the manual-focus Samyang/Rokinon 14mm f/2.8 has probably photographed more auroras than any other lens on Earth — and manual focus is no handicap at night, since you focus manually anyway. The Viltrox 16mm f/1.8 has become the new favorite of budget-conscious astro shooters, and with good reason.
- APS-C: the Sigma 16mm f/1.4 remains the go-to choice.
One honest warning from years of guiding: kit zooms with f/3.5–5.6 apertures CAN capture the aurora, but they force punishing ISOs and long, blurry exposures. If you upgrade one single piece of gear before an aurora trip, make it the lens.
Tripod: the unsung hero
A sturdy tripod is absolutely mandatory — every aurora photo is a multi-second exposure. Arctic wind is real: a flimsy travel tripod that vibrates will soften every single image of your trip. Carbon fiber is ideal in the cold (aluminum legs become painful to touch at −20°C; if yours are aluminum, wrap the upper leg sections in foam or tape). Skip the center column when the wind blows, hang your bag from the hook for extra stability, and push the leg spikes firmly into snow or sand.
Batteries: bring double what you think
Cold cuts battery life dramatically — at −15°C, expect half of normal capacity or less. Bring at least 3–4 fully charged batteries and keep the spares in an inside pocket, warmed by your body. Rotate them: a “dead” cold battery often revives after 20 minutes against your chest. (Good news for Sony A7 V and A7R VI owners: their new-generation batteries are noticeably more cold-resistant — but bring spares anyway.)
The rest of the checklist
- Headlamp with red light mode — red preserves your night vision and doesn’t ruin other photographers’ exposures. This is aurora-field etiquette rule number one.
- Remote shutter release or the 2-second self-timer, to avoid touching the camera during exposure.
- Hand warmers — one rubber-banded loosely around the lens barrel prevents fog and frost on the front element during long sessions. The cheapest dew heater in existence.
- Lens cloths, several, kept in an inside pocket so they stay dry.
- A sealed plastic bag for the end of the night: put the whole camera inside BEFORE walking into a warm room, and condensation forms on the bag, not inside your lens. Small trick, saves careers.
- Warm clothing in layers, insulated boots, and the glove system that actually works: thin liner gloves (to operate the camera) under heavy mittens (to survive between shots).
How to Photograph the Northern Lights: Camera Settings
Here is the recipe we teach on the first night of every tour. Start here, then adapt to what the sky gives you.
The starting settings
- Mode: Manual (M)
- File format: RAW, always — night files need the editing headroom
- Aperture: wide open — f/2.8 (or the widest your lens allows)
- ISO: 3200 as a starting point (working range: 1600–6400)
- Shutter speed: 5 seconds as a starting point (working range: 1–15 seconds)
- White balance: 3500–4000K (auto WB in RAW is fine too; you can refine it later)
- Image stabilization: OFF — on a tripod it can actually cause blur
- Long exposure noise reduction: OFF — it doubles the time between shots, and you will miss the best curtain of the night waiting for a dark frame
- Flash: OFF, obviously — and please, no flashes near other photographers
Adjusting to the aurora: the skill that separates good from great
- Faint, slow aurora (a calm green arc on the horizon): lengthen to 10–15 seconds and drop ISO to 1600–3200 for a cleaner file. The arc barely moves; let the sensor drink.
- Bright, fast-moving aurora (dancing curtains): shorten to 1–4 seconds and raise ISO if needed. This is the moment beginners ruin: a long exposure blurs those beautiful vertical rays into structureless green mush. A short shutter speed freezes the drama — grain is forgivable, mush is not.
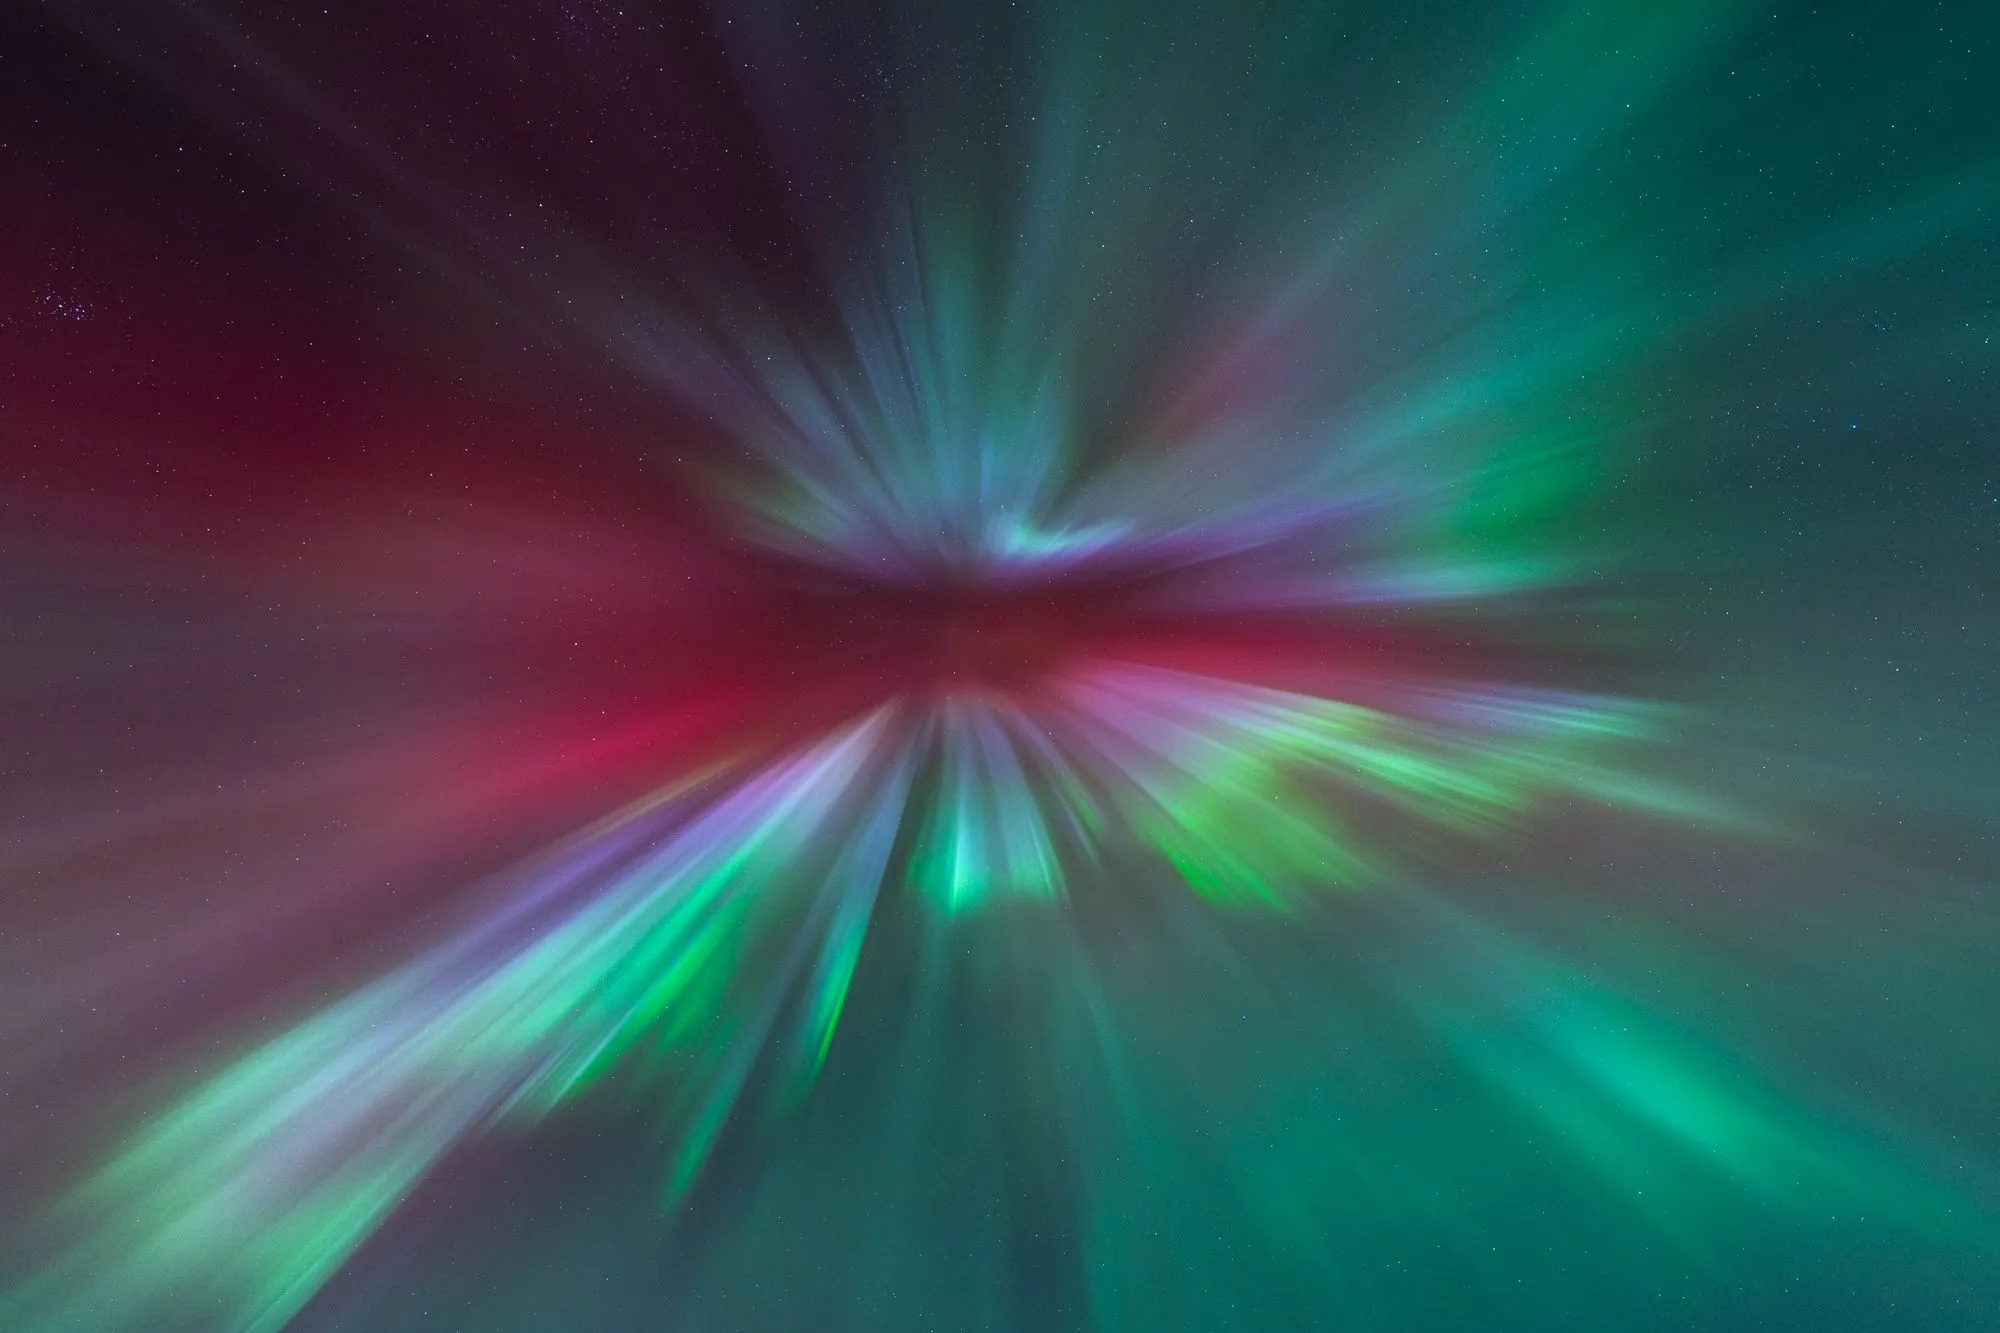
- Corona overhead (the aurora explodes directly above you): 0.5–2 seconds, ISO up to 6400, shoot vertical, and remember to breathe.
Trust the histogram, not the screen. At night your LCD looks deceptively bright and you will chronically underexpose. Push the histogram as far right as you can without clipping the aurora’s highlights — a slightly bright RAW file darkened in editing is dramatically cleaner than a dark file brightened up.
How to focus in the dark (the #1 problem we fix in the field)
Autofocus is useless on a dark sky. Do this instead:
- Switch the lens (or camera) to manual focus.
- Activate Live View and point at the brightest star, a distant light, or the moon.
- Magnify the view to maximum on that point of light.
- Turn the focus ring slowly until the star becomes the smallest, sharpest point possible.
- Take a test shot and zoom into the image to confirm pin-sharp stars.
- Do not touch the ring again — a strip of gaffer tape over it is a trick our guides use on every tour, because a knocked focus ring at midnight has broken more hearts than any cloud.
Warning: do not trust the infinity mark printed on the lens — on most modern lenses, true infinity sits slightly before the mark. And re-check focus every time you move locations or change lenses.
Composition: From Snapshot to Wall-Worthy Image
A photo of the aurora alone is documentation. A photo of the aurora over a landscape is art. The sky is the light show; the land is your story.
- Find a foreground: a waterfall, an iceberg on the black beach, a mountain reflected in a fjord, a lone red cabin, a frozen lake. Scout your locations in daylight — composing in total darkness is ten times harder, and the pros never improvise it.
- Use reflections: calm water doubles the aurora. Autumn lakes and lagoons (before freeze-up) are among our favorite aurora stages in Iceland, Norway and Canada alike.
- Keep the horizon low: when the display is strong, give the sky two thirds of the frame. When the aurora is a modest arc, flip it — let a strong foreground carry the image.
- Add a human element: a person with a headlamp gazing up gives scale and emotion — it is one of the most shared types of aurora image on the internet, and we set it up for our groups on every tour. Have the model stand perfectly still for the full exposure.
- Shoot vertical too: when the aurora climbs toward the zenith, a vertical frame captures the full curtain from land to stars.
- Try a panorama when the arc stretches across the whole sky: 4–6 vertical frames, 30% overlap, same exposure locked for all — shoot fast, before the curtains move.
[FOTO 2 AQUI – Aurora con persona o composicion con primer plano potente. Alt text sugerido: “Photographer under the northern lights during a guided photography workshop”. BORRAR ESTA LINEA]
Advanced Techniques for Your Second Aurora Night
Once you have the classic shot, level up:
Aurora time-lapse
Set an interval timer: one frame every 3–6 seconds (exposure 2–5 s plus a 1-second gap), for 300–600 frames. Assembled at 25 fps, that is 12–24 seconds of the sky dancing. Lock focus, lock exposure, disable long-exposure noise reduction, and use a fully charged battery — then step away and enjoy the show with your own eyes while the camera works. Fair warning: time-lapse is addictive.
Aurora portraits
Expose for the aurora as usual (say 4 s, ISO 3200), have your subject freeze, and during the exposure paint them for half a second with the dimmest warm light you have — a phone screen at minimum brightness works better than a headlamp. One attempt is never enough; five usually are.
Working in deep cold
Move slowly and deliberately: cold fingers drop lens caps into snow. Never breathe on the viewfinder or lens (instant frost). Never bring the camera under your jacket “to warm it up” (instant condensation). And at the end of the night, remember the sealed-bag trick from the checklist before entering any warm building.
Step-by-Step: Your First Night Under the Aurora
- In the afternoon: check the aurora forecast (KP and Bz) and the cloud map; choose your location AND a backup in a different direction.
- Arrive before dark: compose while you can still see, and set your focus on the first bright star.
- Dial in the base recipe: f/2.8, ISO 3200, 5 seconds, RAW.
- Take a test shot; check the histogram, not the pretty screen.
- When the aurora appears: shoot, then keep adjusting shutter speed to its rhythm — slower when it calms, faster when it dances.
- Every few frames, zoom into an image and verify the stars are still pin-sharp.
- And at some point: step away from the camera for one full minute and just watch. Trust us on this one — it is why you came.
Common Mistakes to Avoid
- Trusting autofocus, or forgetting to re-check focus after moving.
- Exposing too long during strong displays — blurry, structureless green is the most common ruined aurora photo on Earth.
- Leaving noise reduction and stabilization on.
- Arriving without scouting, then fumbling compositions in the dark.
- Chimping every frame with the screen at full brightness — you destroy your night vision and misjudge exposure. Histogram, always.
- Underestimating the cold: a freezing photographer takes bad pictures and retreats to the car early.
- Giving up too soon: auroras come in waves, with quiet spells between surges. A dead sky at 10 PM can explode at midnight — we have seen it a hundred times.
Editing Northern Lights Photos: Less Is More
Shoot RAW and the file will forgive you almost anything. Our standard aurora edit in Lightroom is deliberately gentle:
- White balance: settle it between 3500 and 4000K — too warm turns the sky muddy, too cool turns the snow blue.
- Tones: lift the shadows in the foreground slightly, protect the highlights in the brightest curtains, add a touch of contrast and clarity to the aurora itself.
- Noise reduction: this is where 2026 is a golden age — AI denoising (Lightroom’s Denoise, DxO PureRAW, Topaz) works small miracles on ISO 6400 files. Apply it to the sky, keep it moderate, and your “grainy” night files become print-ready.
- Color honesty: resist the temptation to push saturation. Viewers in 2026 spot a radioactive-green fake instantly, and Google’s algorithms increasingly reward authentic imagery. The real colors — the ones your camera captured — are beautiful enough.
How to Photograph the Northern Lights with a Smartphone
Let’s be honest first: for images with real detail, clean shadows and printable quality, a dedicated camera with a fast wide-angle lens plays in another league. But modern phones can capture surprisingly decent auroras — and the best camera is the one you have when the sky explodes:
- iPhone (11 or newer): mount it on a small tripod — this alone doubles your quality, because Night mode only extends to 10–30 seconds when the phone detects it is stable. Let Night mode activate, tap the arrow, slide the exposure timer to maximum. Shooting ProRAW gives you impressive editing latitude afterwards.
- Google Pixel: activate Night Sight and, on a tripod, wait for Astrophotography mode to appear (the little stars icon) — it stacks up to 4 minutes of exposures and renders auroras beautifully.
- Any phone: flash OFF, lock focus on a distant light or bright star (tap and hold), pull the exposure slider down slightly so the aurora doesn’t blow out, and fire with the self-timer to avoid shake.
Northern Lights Settings Cheat Sheet
Save this table on your phone — it is the same one we hand our travelers on the first night of every tour:
| Scenario | Aperture | Shutter speed | ISO |
|---|---|---|---|
| Faint aurora, barely visible arc | f/2.8 (or widest) | 15–20 s | 3200–6400 |
| Moderate aurora, slow movement | f/2.8 | 8–13 s | 1600–3200 |
| Bright aurora, visible movement | f/2.8 | 3–6 s | 1600–3200 |
| Explosive corona, fast curtains | f/2.8 | 0.5–2 s | 3200–6400 |
| Moonlit landscape + aurora | f/2.8–f/4 | 5–10 s | 800–1600 |
| Aurora time-lapse | f/2.8 | 2–5 s (interval 3–6 s) | 1600–3200 |
Treat every cell as a starting point, check the histogram, and adjust. The aurora never reads the manual.
Frequently Asked Questions
What KP index do I need to see the northern lights?
From Iceland, Tromsø or northern Canada, KP 2–3 is already enough for photography — you are under the auroral oval. Don’t cancel a clear night because the forecast looks modest; some of our best images have come on “quiet” nights with a favorable Bz.
Can you see the aurora colors with the naked eye?
During moderate displays, you will see a pale green-grey glow — your night vision mutes colors. During strong displays, absolutely yes: vivid green, moving fast, sometimes with pink edges. Either way, your camera will always record more color than your eyes perceive. Manage expectations, and the sky will still exceed them.
How cold does it get on an aurora trip?
In Iceland in autumn, typically between +5°C and −5°C (23–41°F); in deep winter, or in the Canadian Rockies and Lapland, it can drop well below −20°C (−4°F). Dress in layers, protect your batteries, and remember: there is no bad weather, only wrong clothing.
Do I need to know my camera well before an aurora trip?
It helps, but it is not a requirement on a guided workshop — teaching you these exact techniques in the field, on real auroras, is precisely our job. Many of our travelers arrive having never shot in manual mode and leave with portfolio images.
Is 2026 really a good year for the northern lights?
One of the best in two decades. Solar Cycle 25 peaked in 2024–2025, and the years immediately around a solar maximum historically deliver the most frequent and intense auroras — including the once-in-a-generation superstorms that paint the sky red down to mid-latitudes. The window is open now; it will slowly close toward the 2030 solar minimum.
Ready to Stand Under the Aurora?
You can learn every setting from this guide. What you cannot learn from any article is where the clouds will open tonight, which beach has the best icebergs this week, which fjord shelters you from the wind, and how to be in the right place at the exact right moment. That is what a specialized photo tour gives you — plus a guide beside your tripod when the sky turns green and your hands start shaking with excitement.
Chase the aurora with us:
- Iceland Photography Tour – Fall Edition: nine days of northern lights, waterfalls, glaciers and black sand beaches, in a small group with professional photo guides and personal instruction every single night.
- Northern Lights Photo Tour – Norway: Tromsø, Senja and the fjords — built entirely around the aurora, moving each night to wherever the sky opens.
- Canadian Rockies Photo Tour: some of the darkest certified skies in North America, with mountain lakes as your mirror.
Check all departures on our photography tours calendar — and bring this guide with you. The sky is waiting, and it has rarely waited this bright.